

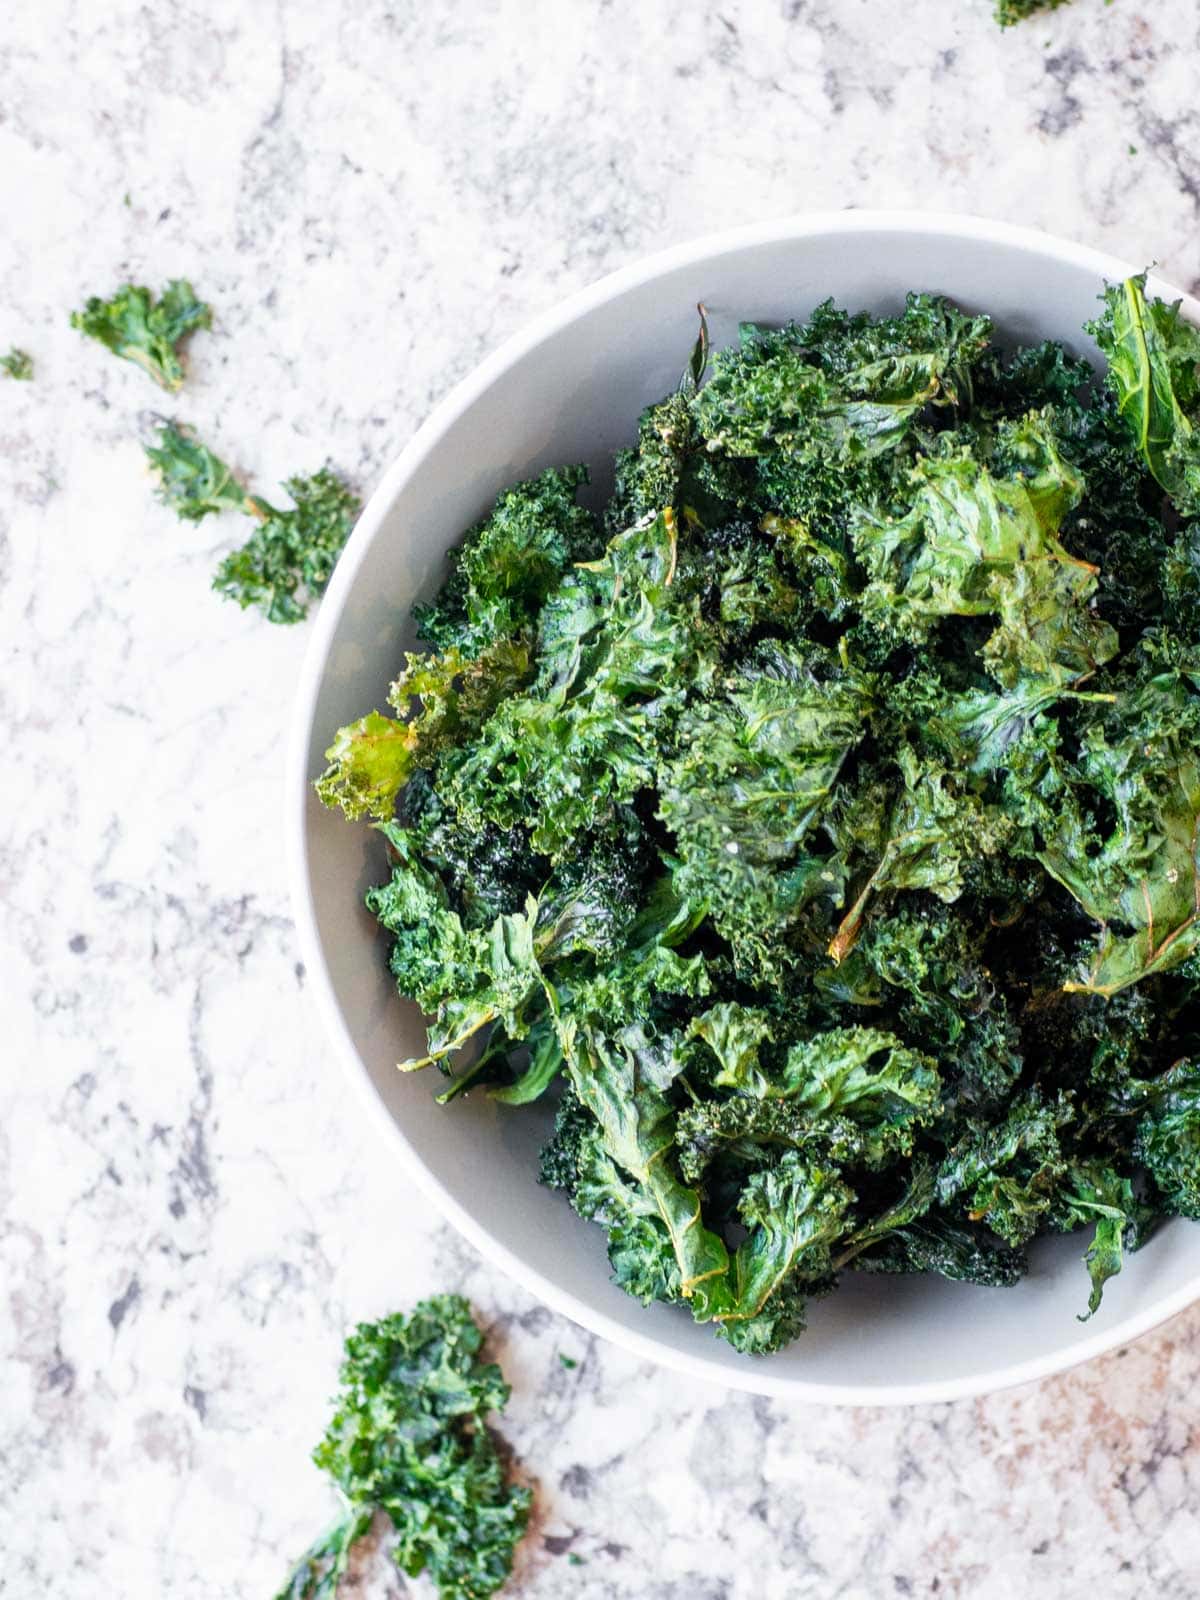
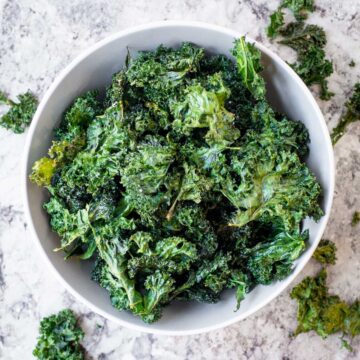
Perfectly seasoned and crispy, these easy-to-make garlic kale chips are ideal for snacking. With this recipe, I'll teach you keys tips so that you get well seasoned chips with that satisfying crunch every time!
Jump to:
If you're looking to eat more veggies in a day, I have just the thing!
With their crunchy texture and salty, savory taste, everyone loves chips.
And not just potato chips. Beet chips, plantain chips, and these kale chips- these recipes all have something in common.
They take a seemingly boring vegetable and turn them into something so snack-able. Even for those who are a bit averse to veggies.
You're going to love these kale chips because:
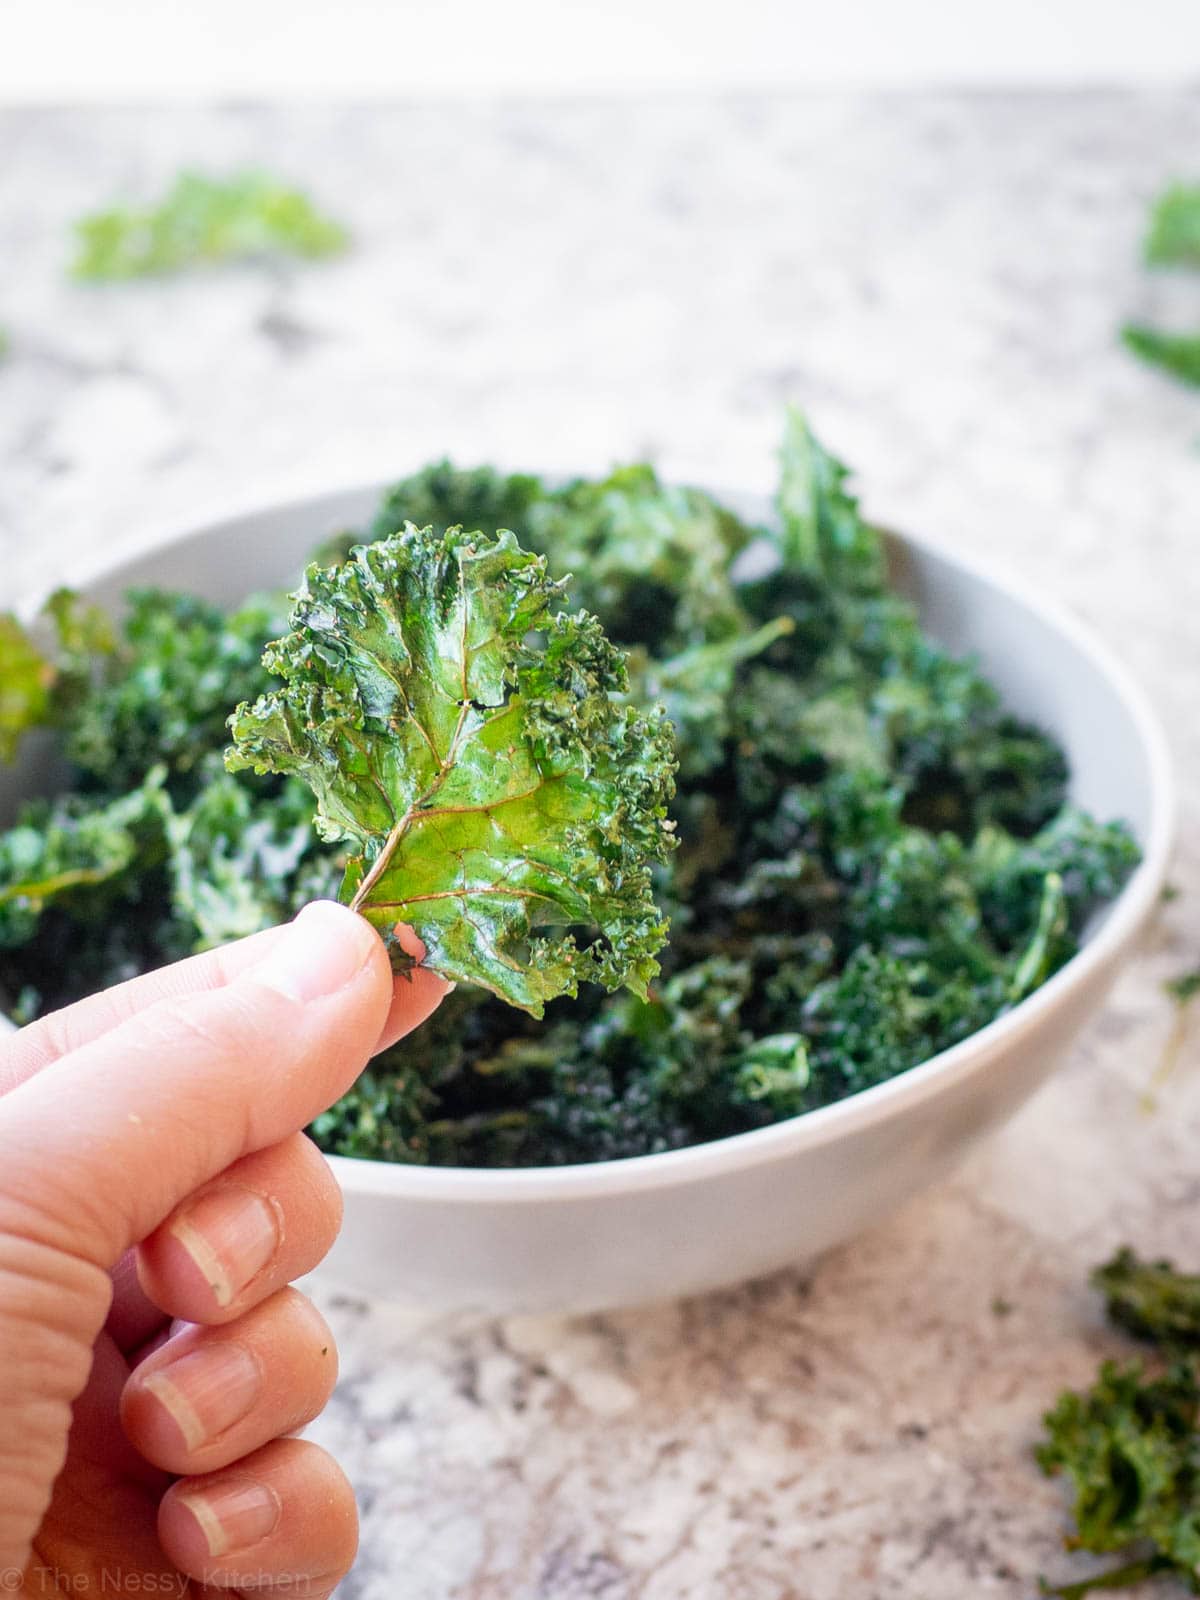
- CRISPY! These kale chips boast a satisfying crunch that rivals traditional chips.
- Healthy. Made with nutrient-rich kale, they're a wholesome snack option packed with vitamins and minerals.
- Fun Way to Eat Vegetables. Transforming kale into crispy chips adds an element of fun to eating your greens, perfect for both kids and adults.
- Easy. With just a few simple ingredients and minimal prep, these garlic kale chips are simple to make.
So let's make some garlicky kale chips!
The Ingredients
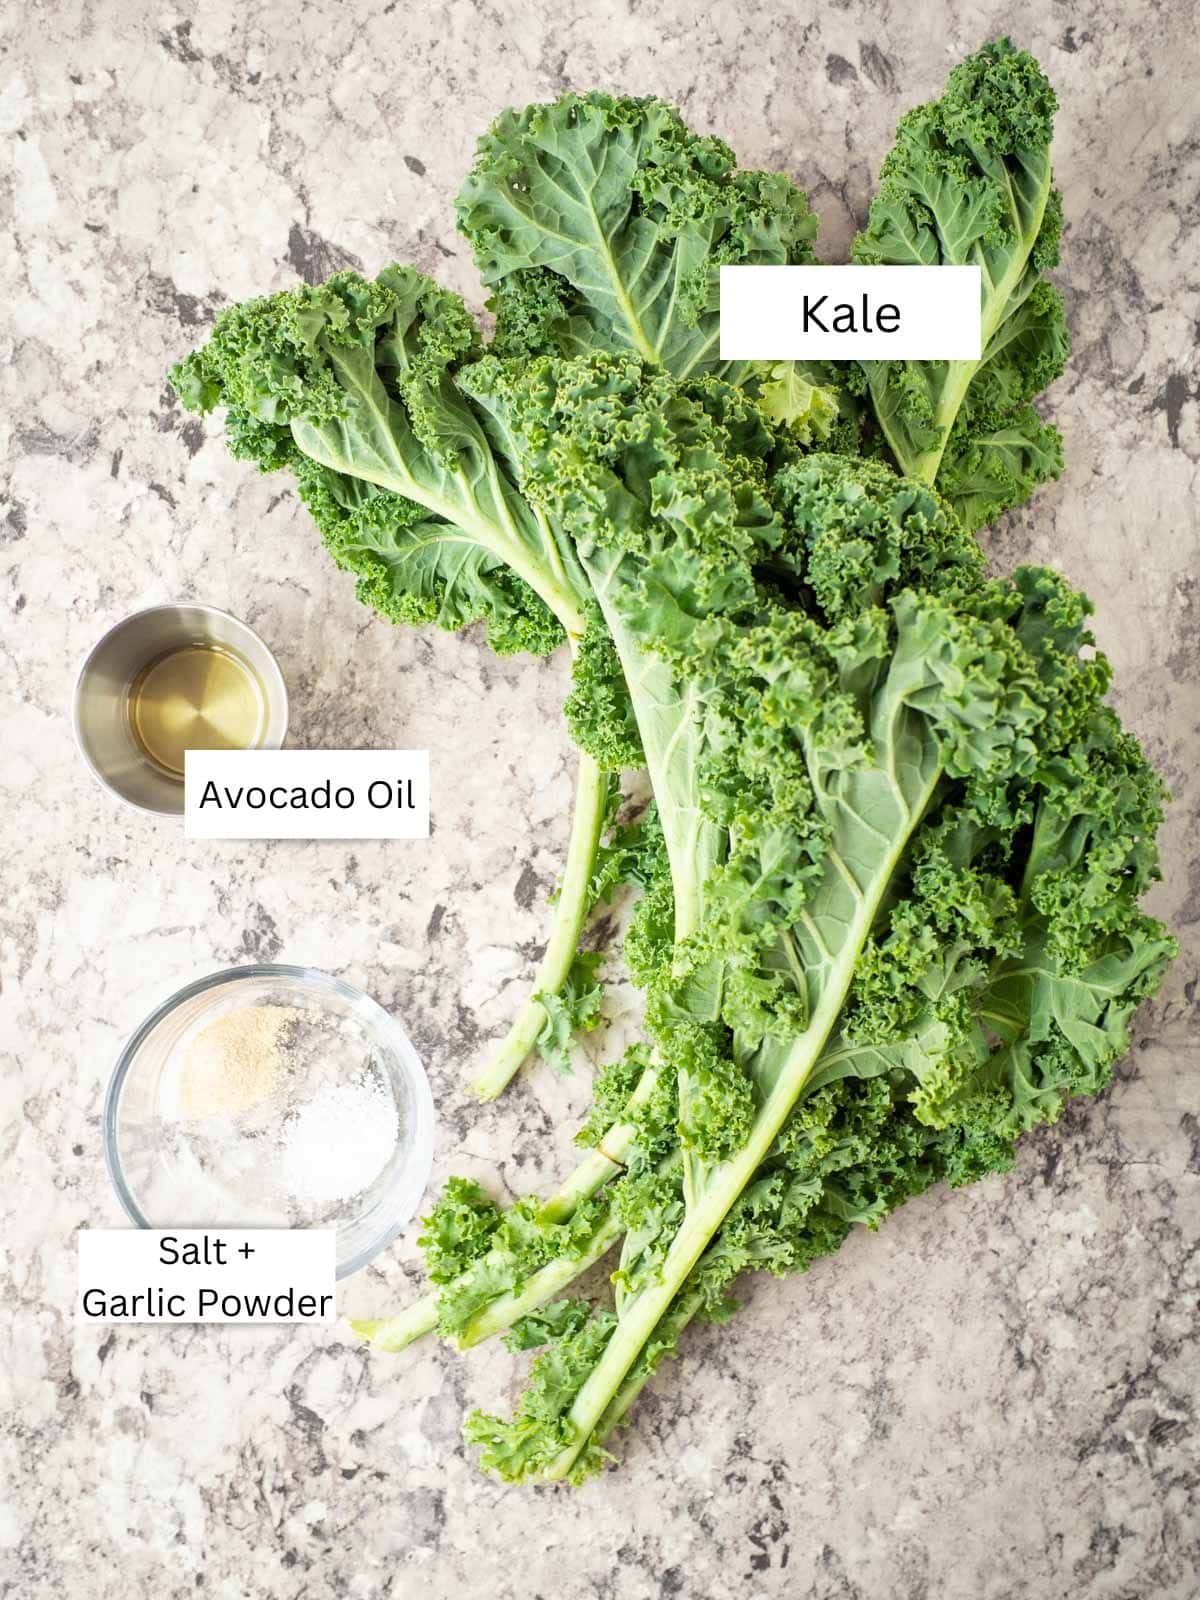
- Kale- You can use either curly or lacinato (dinosaur) kale. Lacinato kale tends to be flatter and longer than curly which makes great chips- however, our grocery store doesn't always have it and so I have made these chips with curly plenty of times as well. DO NOT use baby kale for this recipe as it will burn before it gets crispy.
- Avocado Oil- Olive oil or your preferred cooking oil can be used instead if needed.
- Garlic Powder- I prefer to use garlic powder rather than minced garlic as I find it has less bite and provides better distributed flavor.
- Sea Salt- A little bit of salty goodness completes the flavor of these vegetable chips. Table or kosher salt can be used instead- adjust to taste.
The Method
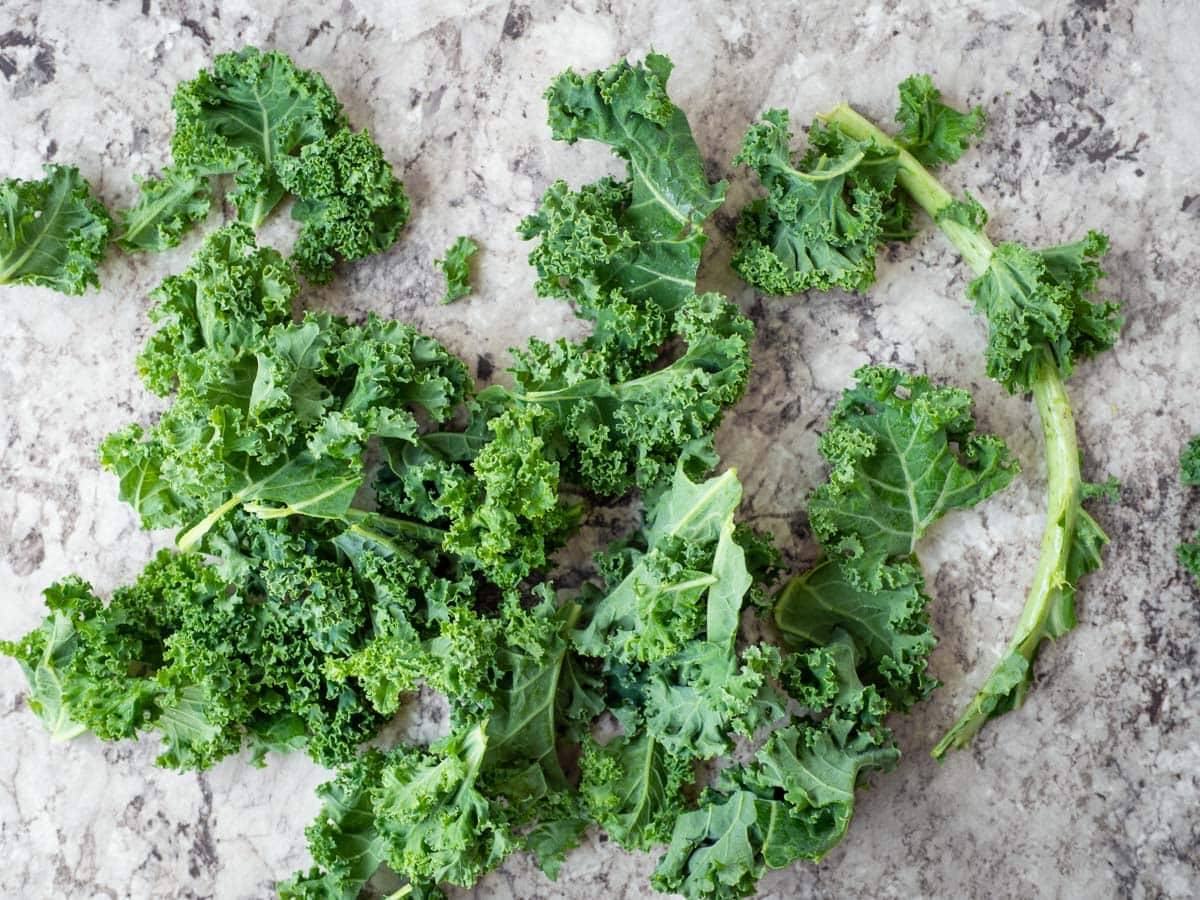
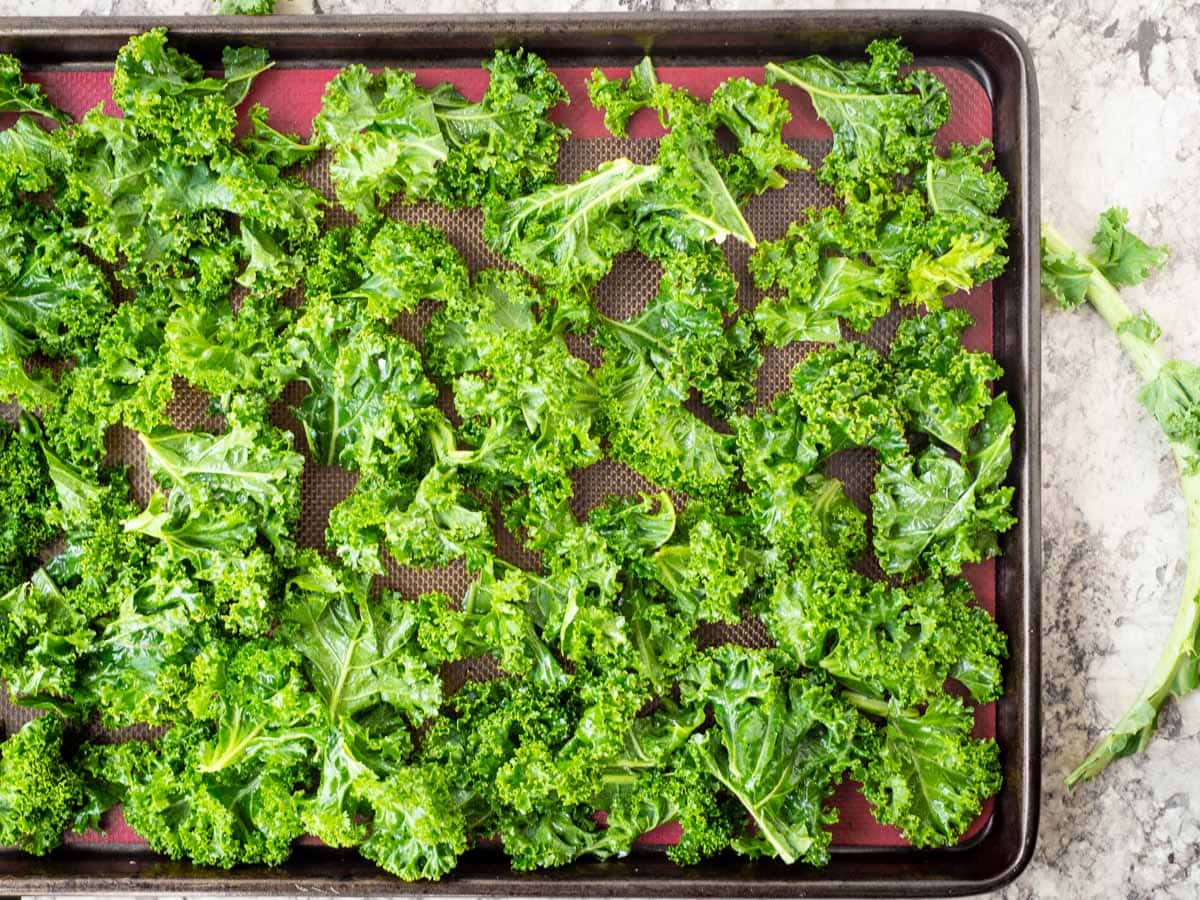
1. Prepare the kale. Wash and dry the kale (I usually use a salad spinner but you can use a clean, lint-free kitchen towel). It is important that the kale is dry so that it gets crispy.
Remove the stems and rip the kale into ~3 inch pieces (they don't need to be perfect!).
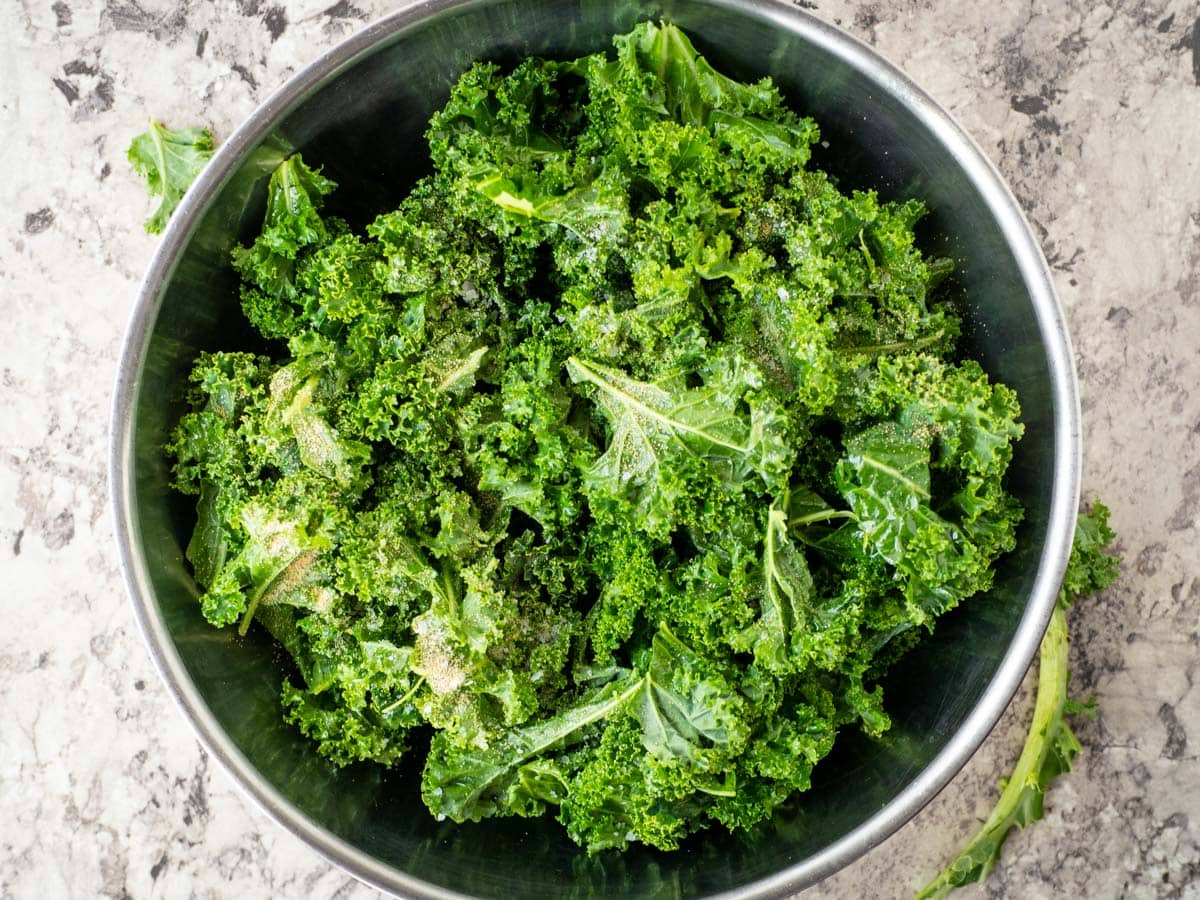
2. Mix. Add the kale to a bowl along with the oil. Massage to coat (this tenderizes the kale a bit- no need to massage it as much as you do for kale salad though). Then add the salt and garlic powder and toss to combine.
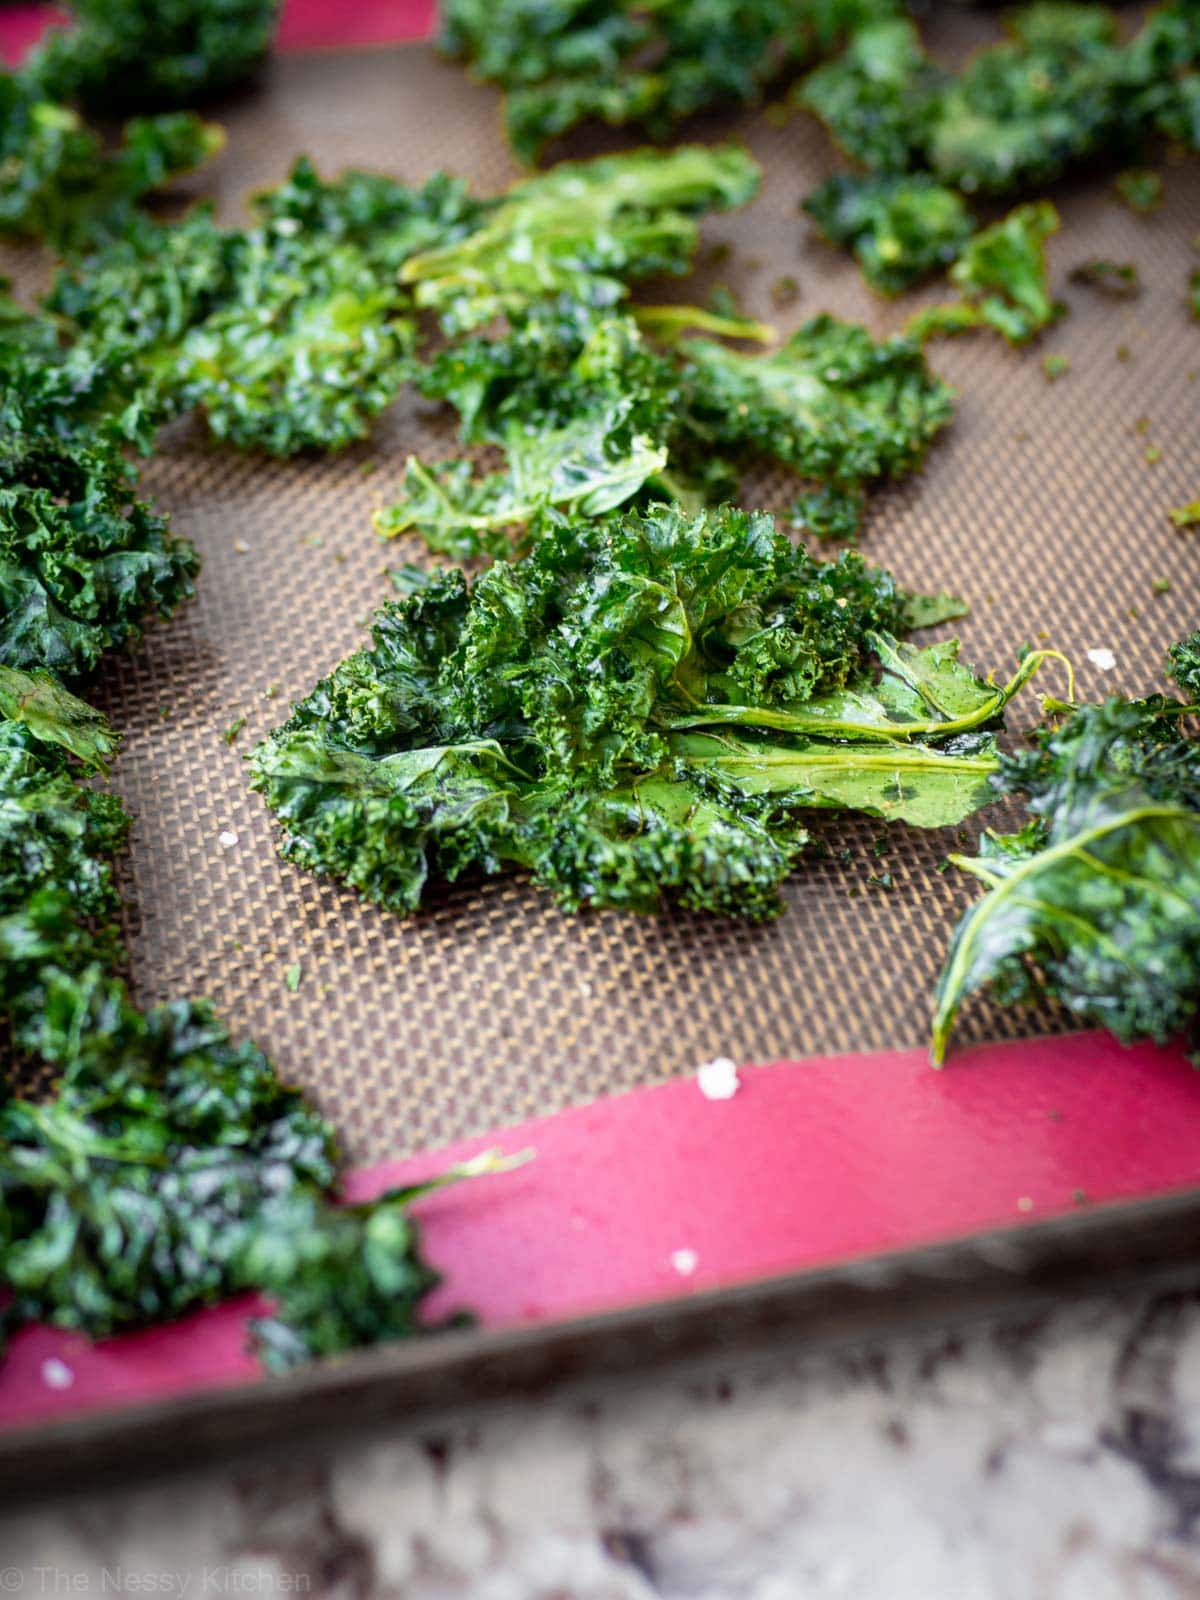
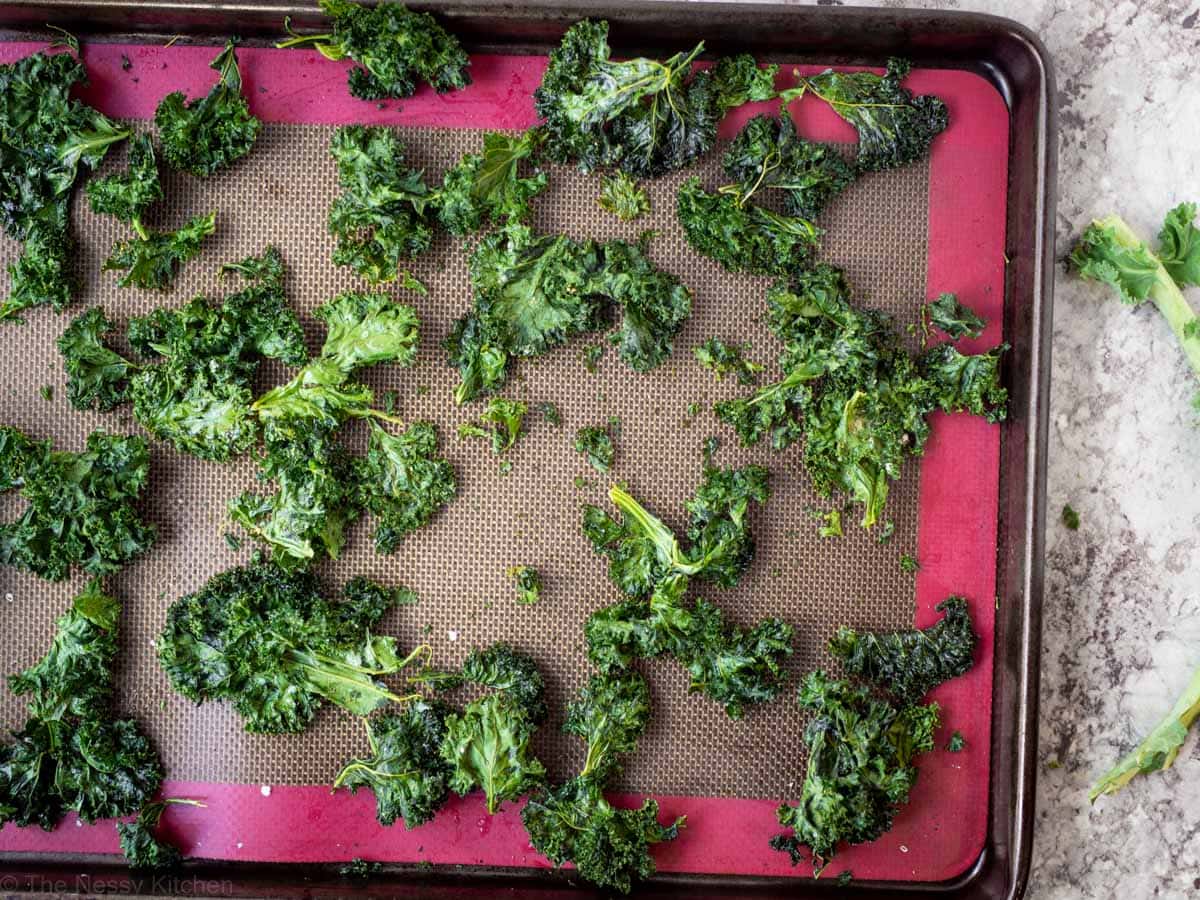
3. Cook. Place kale in a layer on a large sheet pan (it can be slightly over lapping- but you may need to work in batches or use more than one baking sheet). Bake at 300 F for 18-22 minutes, rotating the pan after 10 minutes for even cooking.
Keep a close eye on them after 18 minute as they can turn burnt quickly. The chips should still be green (not brown) and may still be slightly soft in the center when you take them out.
4. Cool. After cooking, remove from the oven and allow to cool for 10 minutes. They will continue to crisp up as they cool.
5. Enjoy!
Leftovers and Storage
To Store: Place cooled kale chips in a container, ziptop or paper bag for up to 3 days at room temperature. You don't want to package them in something airtight as they will lose a bit of crispiness.
Make it Your Own
Experiment with seasoning the kale chips with more than just salt and garlic. Here are some ideas:
- Salt and Pepper- Add ¼ teaspoon of black pepper and omit the garlic powder.
- Parmesan- Sprinkle 2 tablespoons of shredded parmesan over the chips as soon as you remove them from the oven.
- Barbecue- Add ¼ teaspoon of paprika, ⅛ teaspoon of onion powder and ⅛ teaspoon of chili powder.
Serving Ideas
Kale chips are great as a snack or a healthy side dish. Here are some ideas of ways to use them:
- With Burgers: Enjoy these alongside some barbecued beef burgers.
- Alongside Sandwiches: Chips and sandwiches are a classic pairing and these are excellent alongside a Cranberry Turkey Sandwich or Sourdough Grilled Cheese.
- On Soup: Use them to replace crackers or croutons to add some crunch to the top of your bowl of soup or chili (such as this White Chicken Chili).
- And More: Add them to a snack board, use them as a garnish or enjoy them as a crunchy snack on their own.
Honestly, I don't recommend it. At least in the air fryer that I have, the kale flew around a bit with the air as the leaves are so light.
Most likely, they weren't dry enough. It is very important to take the time to dry them first (either using a salad spinner or a clean lint-free kitchen towel) in order to ensure crispy chips.
Key Tips for Perfect Kale Chips
- Remove Stems: Before baking, ensure to remove the tough stems from the kale leaves as the stems will remain hard and won't get light and crispy.
- Dry Thoroughly: After washing, make sure the kale leaves are completely dry to allow them to crisp up.
- Massage Oil: Massage the oil into the kale leaves thoroughly to ensure even coating and crispiness.
- Keep a Close Eye: Monitor the kale chips closely while baking to prevent burning, as they can quickly go from crispy to burnt.
And if you liked this recipe...
...you might also like:
Recipe Card
Garlic Kale Chips
Ingredients
- 1 bunch kale about ½ lb or 5 large ribs
- 2 teaspoon avocado oil
- ¼ teaspoon fine sea salt
- ¼ teaspoon garlic powder
Instructions
- Wash and dry the kale (I usually use a salad spinner but you can simply dry with a clean kitchen towel). It is important that the kale is dry so that it gets crispy.Remove the stems and rip the leaves into ~3 inch pieces.
- Add the kale to a bowl along with the oil. Massage to coat (this tenderizes the kale a bit- no need to massage it as much as you do for kale salad though). Then add the salt and garlic powder and toss to combine.
- Place kale in a layer on a large sheet pan (it can be slightly over lapping- but you may need to work in batches or use more than one baking sheet). Bake at 300 F for 18-22 minutes, rotating the pan after 10 minutes for even cooking.The chips should not yet be brown and may still be slightly soft in the center.
- After cooking, remove from the oven and allow to cool for 10 minutes. They will continue to crisp up as they cool.
- Enjoy!

Comments
No Comments